
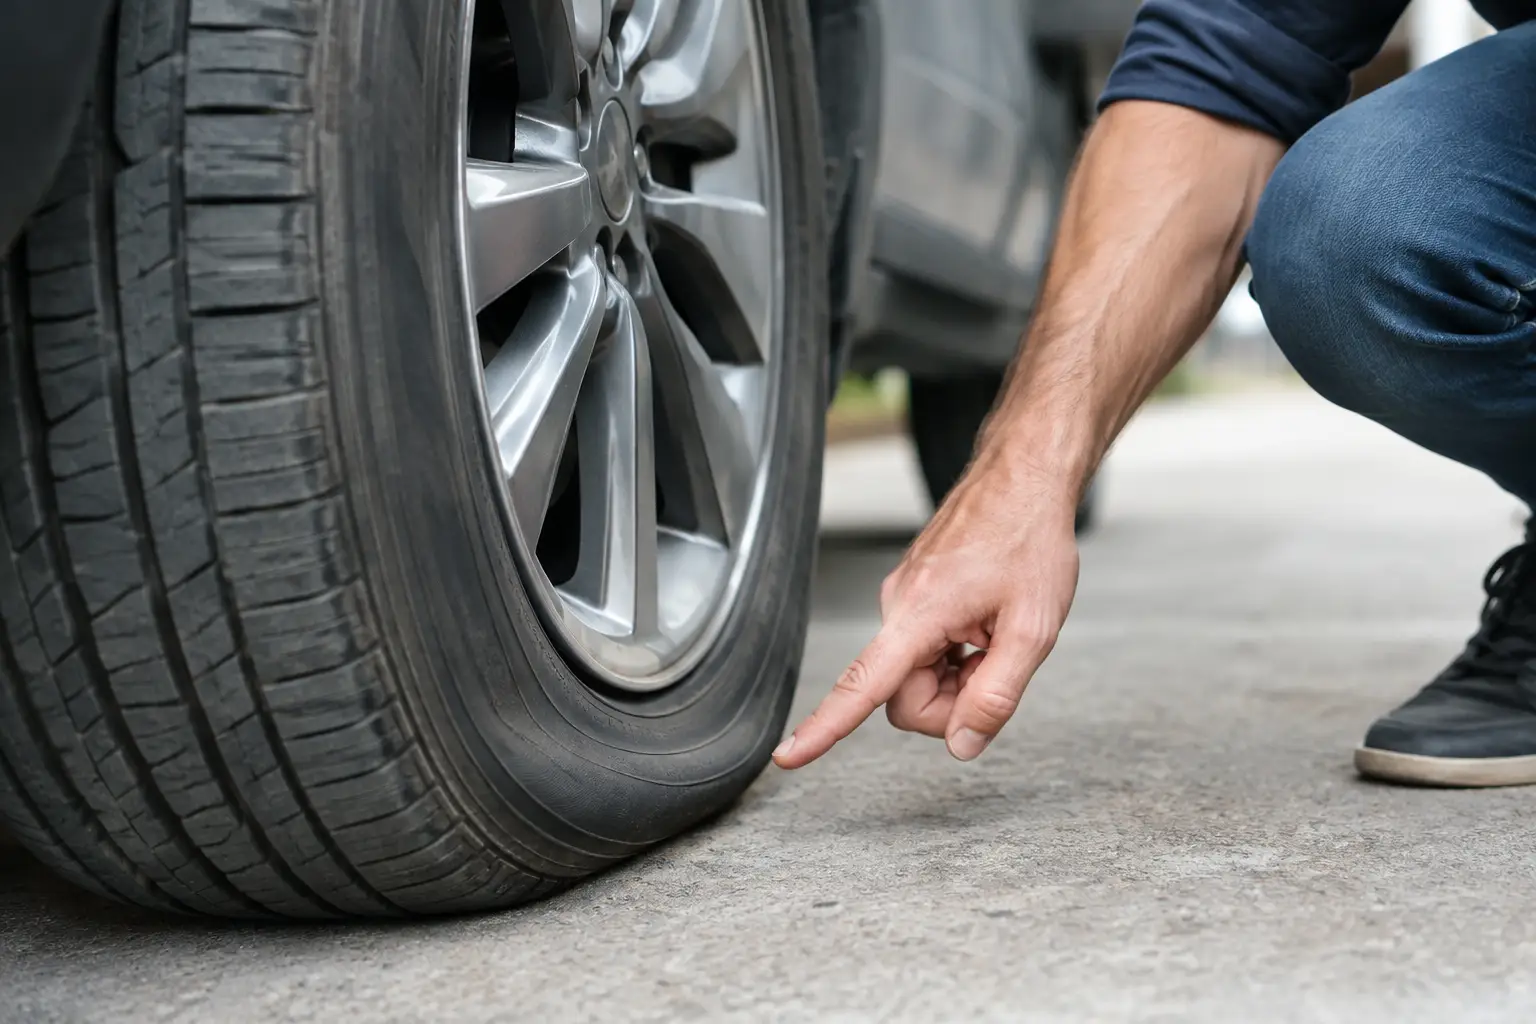
A tire that needs air every few days is doing more than creating an inconvenience before your commute. Understanding why tires leak helps you act before a low-pressure warning turns into uneven tire wear, poor handling, a roadside flat, or damage that requires tire replacement.
Some leaks are obvious, such as a screw in the tread. Others are slow and frustrating: the tire looks fine, yet the TPMS light returns after you add air. The source may be a tiny puncture, a worn valve stem, corrosion where the tire meets the wheel, or even a wheel that has been bent by a pothole. A professional inspection identifies the actual cause so the repair matches the problem.
Why Tires Leak: The Most Common Causes
Punctures in the tread
Road debris is the cause most drivers recognize. Nails, screws, wire, and sharp construction debris can penetrate the tread and create a slow leak. In many cases, the object remains in the tire and partially plugs the hole, which is why pressure may fall gradually rather than all at once.
A puncture in the repairable area of the tread may be safely repaired when the tire has not been driven flat and the internal structure is intact. The location matters. Damage in the shoulder or sidewall generally cannot be repaired safely because those areas flex heavily as the tire rolls. Pulling a nail out at home is rarely a good first move – it can turn a slow leak into a rapid loss of air.
Leaking valve stems and valve cores
Every time air is added, the valve stem and its internal valve core are part of the equation. Rubber valve stems can dry out, crack, or loosen with age. The tiny valve core can also leak, particularly after repeated pressure checks or if it has been damaged.
Missing valve caps do not usually cause a leak by themselves, but they allow moisture and road grime to reach the valve core. On vehicles with TPMS sensors, the valve assembly may need special attention. Corrosion or damaged seals around a sensor-based valve stem can create an air leak that is easy to miss during a quick visual check.
Wheel and bead seal leaks
The bead is the airtight contact point between the tire and the rim. If corrosion, dirt, old sealant, or physical damage interferes with that contact, air can escape around the edge of the wheel. This is often called a bead leak.
Denver drivers may notice this issue after winter, when moisture, deicing products, and changing temperatures have had months to affect an older wheel. Alloy wheels can corrode where the tire seals against the rim. A technician may need to dismount the tire, clean and prepare the bead seat, inspect the wheel, and reinstall the tire using professional mounting and inflation equipment.
Bent, cracked, or damaged wheels
A hard pothole strike, curb impact, or road hazard can bend a wheel just enough to affect the bead seal. In more serious cases, a wheel may crack. These leaks can be intermittent, especially if the damage opens slightly under the vehicle’s weight or at certain tire pressures.
A bent wheel is not always visible from the outside. It may also cause vibration, steering-wheel shake, or repeated pressure loss from the same tire. Tire balancing and a close wheel inspection help separate a wheel issue from a simple puncture.
Temperature changes and normal air loss
Not every drop in pressure means there is a physical leak. Tire pressure changes with temperature, typically falling about 1 PSI for every 10-degree decrease in outside temperature. A sharp Colorado cold snap can trigger a TPMS warning even when all four tires are sound.
Tires also lose a small amount of air naturally over time. However, needing air monthly is different from needing it every few days. If one tire consistently loses pressure faster than the others, it should be inspected instead of repeatedly topped off.
How to Tell a Slow Leak From a Pressure Change
Start with a reliable tire gauge, ideally when the tires are cold. Check the pressure against the vehicle manufacturer’s recommended cold tire pressure, usually shown on the driver’s door-jamb label. The number molded into the tire sidewall is its maximum pressure rating, not the pressure your vehicle should normally use.
Record the readings for each tire, then check again after a few days. A temperature-related change often affects all four tires similarly. A leak usually shows up as one tire dropping noticeably faster than the rest.
Look for a nail or screw in the tread, cuts in the sidewall, bulges, cracked rubber around the valve stem, and visible wheel damage. Do not ignore a tire that looks low just because it is still holding some air. Driving on an underinflated tire generates excess heat and can damage the sidewall internally, even when the tire later appears normal after inflation.
A soap-and-water test can reveal escaping air as bubbles around a suspected puncture, valve stem, or wheel edge. It can be useful for a preliminary check, but it does not replace dismounting and inspecting the inside of the tire. A puncture may have caused internal damage that cannot be seen from the outside.
When a Tire Can Be Repaired, and When It Cannot
A proper flat repair is more than pushing a plug into a hole. For a repairable tread puncture, the tire should be removed from the wheel and inspected internally. The repair typically uses a plug-and-patch combination from the inside, sealing both the injury path and the inner liner.
A tire may need replacement if the puncture is in the sidewall or shoulder, the hole is too large, there are multiple closely spaced punctures, or the tire was driven while severely underinflated. A damaged sidewall cannot be restored to its original strength with a patch. That trade-off matters: a less expensive temporary-looking fix is never worth compromising vehicle control at highway speed.
If a wheel is bent or cracked, the right solution depends on the severity and location of the damage. Some wheels can be professionally repaired, while others should be replaced. A thorough inspection provides a clear answer before new tires are mounted.
What to Do When Your TPMS Light Comes On
A steady TPMS light usually means one or more tires are low on pressure. Check all four tires as soon as it is safe to do so, set them to the door-jamb specification, and watch whether the warning returns. A flashing TPMS light can indicate a sensor or system malfunction, which requires diagnosis beyond adding air.
Avoid resetting the warning without correcting the pressure issue. The light is a safety alert, not a maintenance reminder to postpone. Low pressure can reduce fuel economy and traction while increasing tread wear along the outer edges of the tire.
For drivers with packed schedules, a mobile technician can inspect the tire at a home, office, or parking lot rather than sending you to a waiting room. Tires Xpress brings professional-grade mounting, balancing, torque, inflation, and TPMS equipment to the vehicle, making it easier to address a leak before it interrupts the rest of your day.
Preventing Repeat Tire Leaks
You cannot avoid every nail on the road, but regular pressure checks reduce the risk of turning a small problem into tire damage. Check pressures at least once a month and before longer trips, keep valve caps installed, and have tires inspected after a hard pothole or curb impact.
Rotations also help technicians spot uneven wear, embedded debris, and developing wheel concerns early. When replacing tires, make sure the installer inspects valve stems and TPMS service components rather than transferring worn parts without evaluation.
If a tire repeatedly loses air, treat it as a repair appointment, not a recurring chore. A precise diagnosis now can keep your vehicle safe, protect the tire investment, and keep a minor leak from choosing the worst possible time to become a flat.